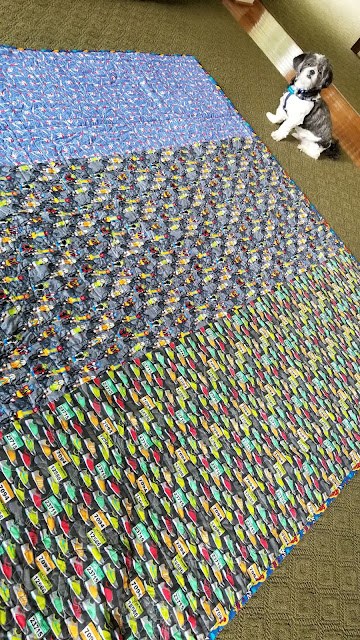
Hopefully, you've made it this far with me. Through creating the design and choosing the backing. Today, I'll discuss the final steps of assembling the quilt. This was the hardest part in so many ways. Mostly because even though I have a number of machines, none of them were able to handle the bulk of quilting.
As a result, I had to find a local quilt shop to take it to. In order to finish this quilt, I had to learn to use the long-arm machines, which required a 4 hour class. During the class I learned that I was supposed to bring all of the layers (front, back, and fill) separately, but I had already done some work at combining them. Seam ripping was not a task I really wanted to do - especially with this monster. Fortunately, the shop had a table machine that did not require each layer to be separate. I went that route. It wasn't the easiest task, but it did the job. Next time I make a quilt (yes, I have another one in the works), I know the drill.
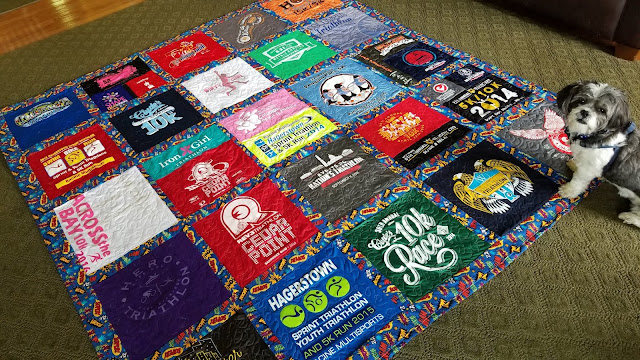
My quilting job isn't the nicest, but then it doesn't need to be. I really wanted to make sure the shirts would not stretch or move (despite adding interfacing to stabilize them), so that's what I focused on. This quilt is about 85" by 90" and it took me all day to do on the machine.
The last step once I got the quilting done was to add the binding. I used more of the superhero fabric that I used for the sashing. It finished off the quilt nicely. I took the quilt to an outdoor concert recently, and more than one person commented that they liked my quilt. I take that as a win!
 |
| I started to attempt quilting on my heavy duty machine. It was just too much quilt! |
As a result, I had to find a local quilt shop to take it to. In order to finish this quilt, I had to learn to use the long-arm machines, which required a 4 hour class. During the class I learned that I was supposed to bring all of the layers (front, back, and fill) separately, but I had already done some work at combining them. Seam ripping was not a task I really wanted to do - especially with this monster. Fortunately, the shop had a table machine that did not require each layer to be separate. I went that route. It wasn't the easiest task, but it did the job. Next time I make a quilt (yes, I have another one in the works), I know the drill.
My quilting job isn't the nicest, but then it doesn't need to be. I really wanted to make sure the shirts would not stretch or move (despite adding interfacing to stabilize them), so that's what I focused on. This quilt is about 85" by 90" and it took me all day to do on the machine.
 |
| This dog is so camera shy. |
The last step once I got the quilting done was to add the binding. I used more of the superhero fabric that I used for the sashing. It finished off the quilt nicely. I took the quilt to an outdoor concert recently, and more than one person commented that they liked my quilt. I take that as a win!

Comments
Post a Comment