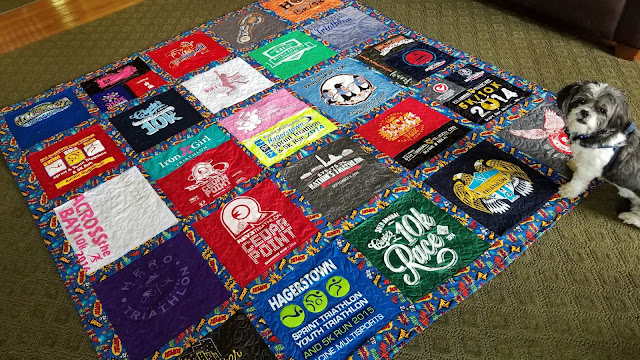
As I participate in triathlons and running events, I have a number of race shirts. So many that I just can't (or don't want to) wear them all. As such, I explored having a t-shirt quilt made, especially by
this company which is deaf-centric. However, the cost was high (spoiler alert: worth the cost - quilts are a PITA), and I could not find a design that I liked. So, I decided that I would put my sewing skills to good use and make a quilt.
 |
| The finished quilt. With my dog on it, because he loves anything I put on the floor. |
I knew that I wanted my quilt to have sashing between each of the shirts. Most companies just sew the shirts together.
I also wanted to make sure that each part of the shirts that had a design or logo was used, not just the front portion. For example, my Disney Half Marathon shirt had a cute design on the sleeve that I wanted included. Thus, making the quilt myself allowed me to customize each block with the shirt pieces.
 |
| Testing out shirt position. |
Once I determined the size for each block, I set out to cut out and arrange each of the shirts in a block. Of course, I tried to keep similar-colored shirts separate. And if there were multiple pieces from a shirt, then I tried to keep the blocks close to each other. It became a bit of a puzzle to work out placement!
 |
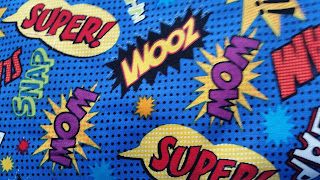
| Superhero Sash Fabric |
Next up, I had to find the sashing that would go in between each block. I found this superhero pattern at Joann's and fell in love. It was perfect!
 |
| Sashing In-Progress. With more of my dog. He really loved sitting on my quilt! |
That's all for today! Stay tuned for the rest of the quilt-making process.


Comments
Post a Comment